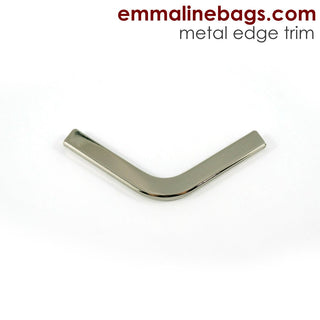
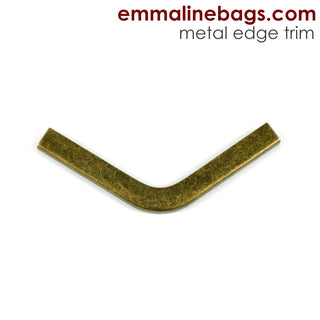
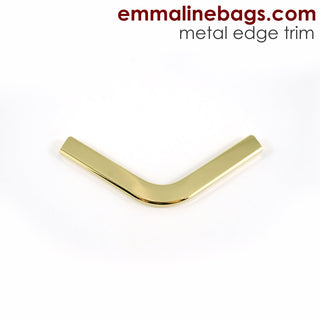
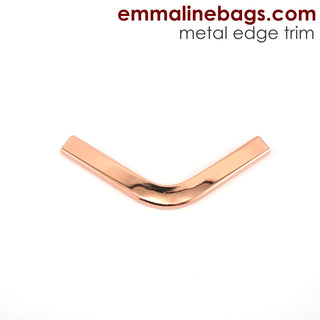
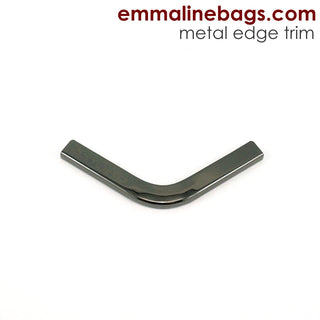
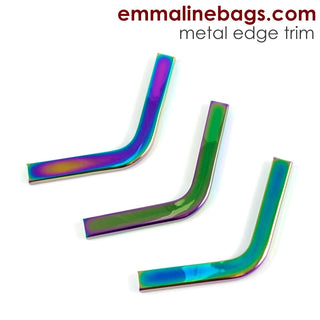
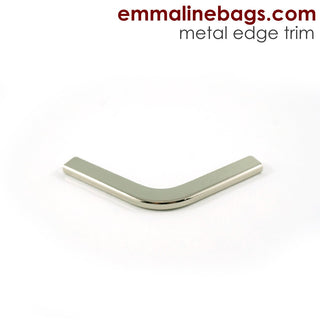
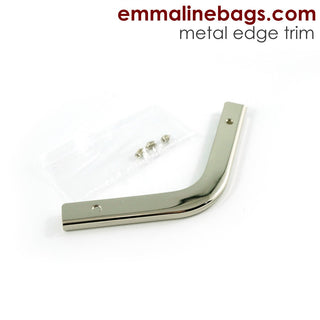
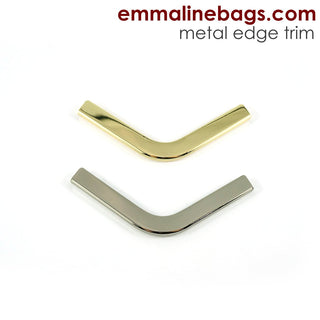
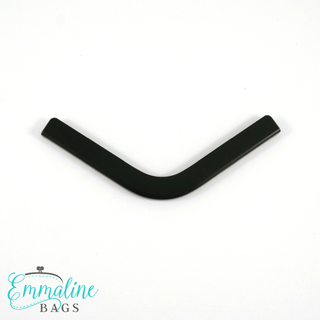
I've designed these particular front flap trim pieces to be used specifically with thinner materials and quilting cottons. They can still be used with leather and vinyl, not a worry - but we've created these to only have a 1/8" (3 mm) channel so your fabric will fit in nice and tight - AND we've done them all with screw holes in the back to secure them on tightly. - Janelle
Instructions:
- Simply trace the metal trim onto your paper pattern piece first, and then ADD your seam allowance on second by measuring with a ruler. This way, you will have the perfect shape and a nice fit.
- Interfacing and stabilizer is recommended in your front flap piece.
- After your front flap is complete and turned right side out, check your trim piece for fit, adjust if necessary, and topstitch if desired.
- Slide the metal bar on again and screw in place - do not pre-cut holes for screws, but put them right through the fabric.
- You may want to use clear, fast-grab glue in the channel to secure. You may need a small flat screw driver to press fabric into the channel if it's tight.
- Show off your gorgeous bag and share pictures on instagram with the hashtag #emmalinehardware.
Measurements:
- Overall Width: 3 1/2" (9 cm) x Depth at Center: 1 1/4" (34 mm)
- Channel: 1/8" (3 mm)
Ethically manufactured in China
DISCOUNTS
An automatic 10% off is applied to when your subtotal reaches $75.00 CAD. When you reach this amount, you will see the discount in your cart!
PROCESSING
We strive to always ship by the next business day. Holiday or sale periods my cause slight delays. We provide fulfillment on weekdays only.
SHIPPING RATES
Shipping is calculated by your weight & location. Choose from options provided after adding your address in checkout.
FORGOT SOMETHING?
If your order hasn't shipped, please add a 2nd order that we'll combine with your 1st, if possible. Shipping overages will be refunded.
HAVE YOU TRIED OUR
INTERFACING!
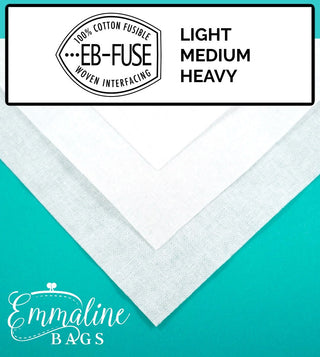
Support and stabilize your fabric with our Emmaline brand fusible woven cotton interfacing.
We have 3 weights of all purpose, woven, fusible, interfacing suitable for a range of weights of cotton, wool, faux leather, or knit fabric. These work very well to stiffen and add structure to exterior/interior bag outers & linings, pockets, or garments.
